Showing posts with label recipes. Show all posts

Thursday, January 23, 2014

Spicy Plum Chutney

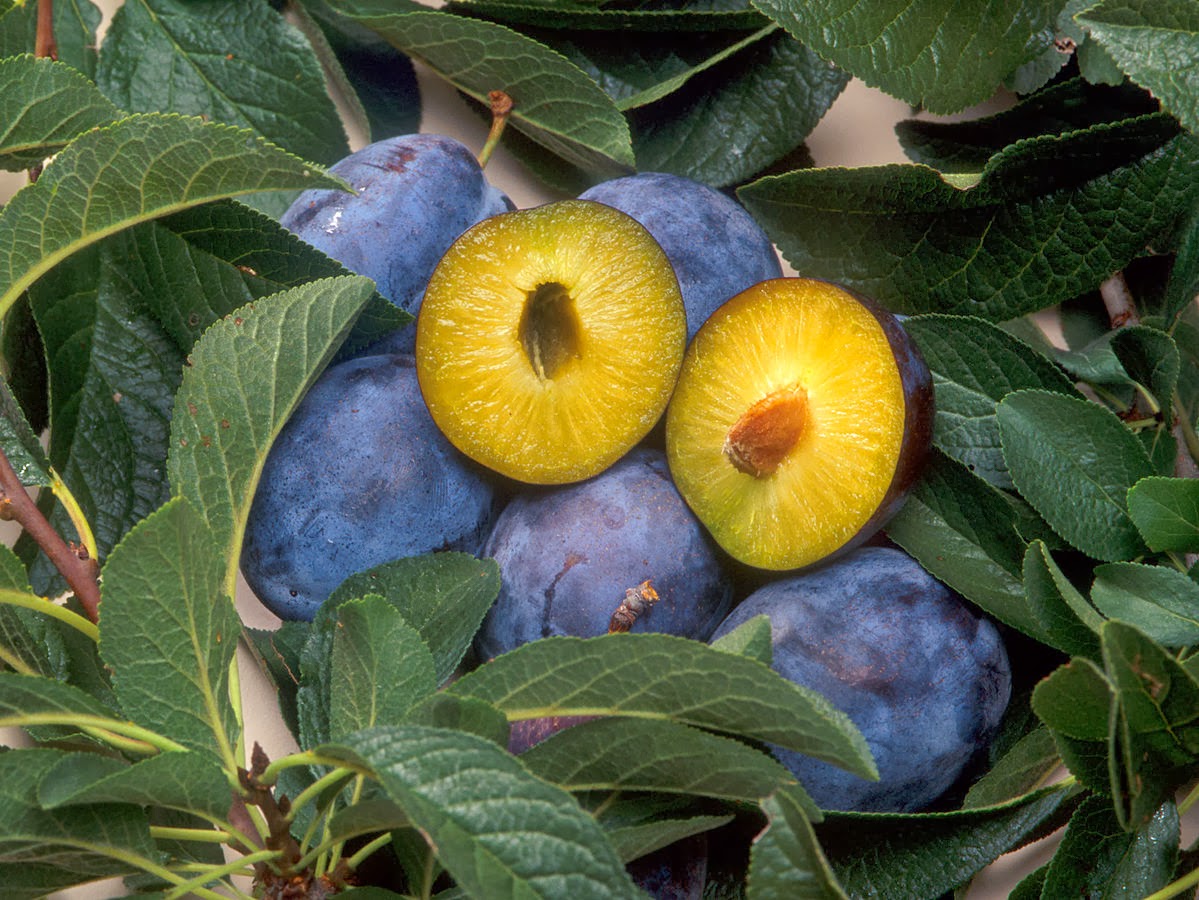
Image from Wikimedia Commons
When I first started developing an interest in canning, I was looking for a way to preserve some of the fruit off the trees in my yard, especially my rather prolific plum trees.

While eating plums fresh are okay, they are not my favorite fresh fruit, so I was looking for ways to use them in other recipes.

Hands down, my favorite thing to do with the plums in my yard is to make plum chutney. So so so SOOO good! And by canning it, I get to enjoy it all year round.

What is chutney, you ask?

Well, chutney means different things to different people, but basically it's a condiment of spices and fruits (and/or vegetables) that is usually both savory and sweet at the same time. It's a fruit or vegetable relish that is served with a main dish to complement its flavors.

Most chutneys you get in Western countries have Indian roots but have been Europeanized, so they're not truly "authentic." Still, these chutneys have plenty of charms. They usually involve cooking fruit, vinegar, onion, garlic, and spices together, then concentrating the flavors by cooking things down in a reduction.

Now, that may not sound that great if you are new to it (fruit, onions and vinegar cooked together?), but it really is quite good. A little sweet, a little sour, a little savory, a little spicy ─ all in one. Goes great with meats and cheeses.

The best-known fruit chutney is probably Major Grey's Chutney, which uses mangoes, onions, vinegar, raisins, lime juice, and spices. (If you've never tried it, you definitely should!)

Image from sirenabernal.com 
There are many other types of fruit chutneys out there, but my personal favorite is plum chutney.

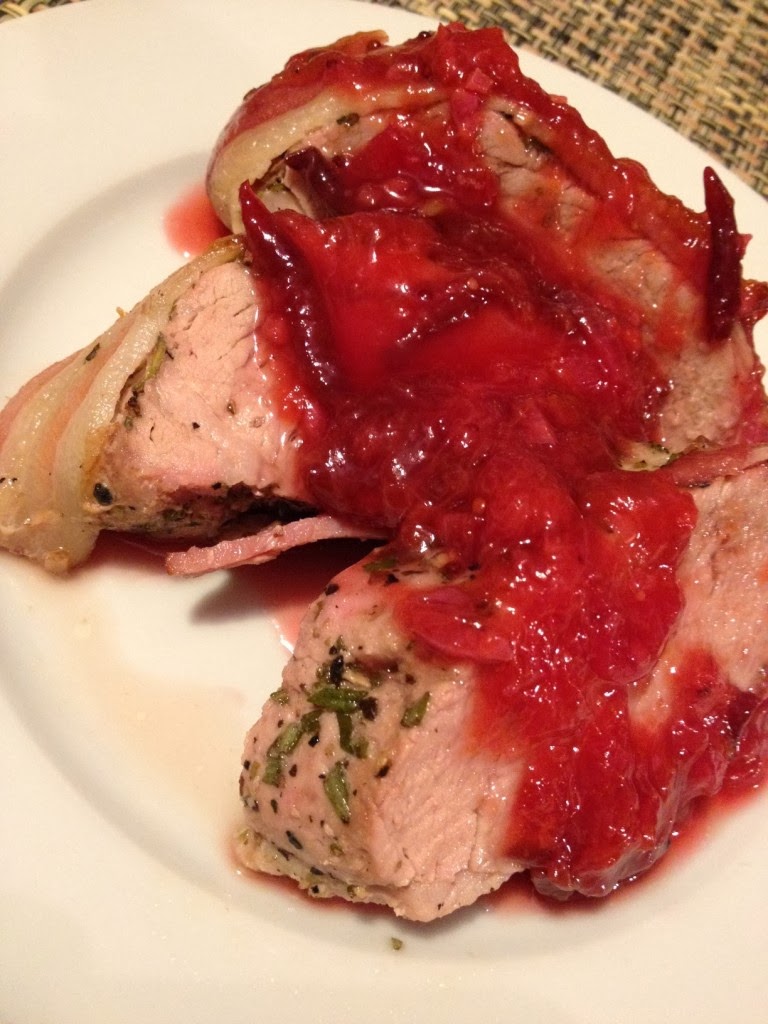
The best way to eat plum chutney, in my opinion, is on pork tenderloin, which is a good lean cut of pork. There's a good recipe here.

Basically, roast the tenderloin, let it "rest" for a few minutes after taking it out of the oven, then slice it up and serve with the plum chutney on top.

You can put some chutneys on meat before roasting it, but my family agrees that this chutney is much tastier when it is added after the meat is cooked.

The recipe above has you make the chutney fresh, at the same time you are roasting the meat. However, it's also useful to make the chutney ahead of time and then can it. Then it is available whenever you want it, whether or not plums are in season. It shortens your prep work to have it already made and shelf-stable, and the flavors intensify if they are on the shelf for a while.

This is the recipe I use, which is taken from Put 'Em Up by Sherri Brooks Vinton. It's a little on the runny side and it's not as pretty-looking as I might like, but the flavor really can't be beat.

Plum Chutney

2 c. cider vinegar
2 c. sugar
4 pounds plums, pitted and diced
2 large sweet onions, diced
1/2 c. diced prunes
2 T. freshly grated ginger
2 T. mustard seed
2 t. salt
zest of one lemon, cut into thin strips
2 garlic cloves, minced
1/2 t. ground cloves

Bring the vinegar and sugar to a boil in a large non-reactive pot. Add the plums, onions, prunes, ginger, mustard seed, salt, lemon zest, garlic and cloves and return to a boil. Simmer until thickened, about 30 minutes.

Can with the boiling-water method for 20 minutes (adjusting for altitude if needed). (Canning directions for beginners can be found here.)

Enjoy!


Wednesday, January 15, 2014

Spicy Ginger Applesauce

I'm busy catching up on a few projects, so another fluffy post today.

Haven't posted much on gardening or canning this year, so thought I'd share one of my favorite canning recipes - Spicy Ginger Applesauce. Mmmmmm, this is GOOD stuff.

I make many quarts of this every fall when our apple trees bear fruit. Our neighbors also give us the apples from their trees, and we invest in apples from local orchards as well. As our apple trees become more mature, we won't need the local orchards as much, but we'll probably always get some so we have a wider variety of apples for the sauce.

We give homemade gifts to our friends and the kids' teachers. Some years it's plum chutney, this year it was Raspberry Jelly or Spicy Whiskey Pumpkin Butter, but every year is a Spicy Applesauce year. Yep, it's so good that people request it for gifts!

I both can and freeze the applesauce since I like to have both types of storage on hand. I often also dehydrate some apples and make apple chips as well. Sadly, these don't last long if my sons find them (note to self ─ make more next year)! I haven't made fruit leather from the applesauce yet but I hope to next year. Should be goooooood!

The recipe is extremely easy. You can make it on the stovetop in the traditional way, or in a crockpot if you are in and out all day or want to do it overnight. It's very flexible and adaptable. The hardest part is getting the apples ready, and that's not very hard. I do it while watching T.V. or doing laundry so I can multi-task.

You adjust the sweetness and spiciness of the sauce to your family's taste. Some people like their applesauce very plain and apple-y; our family prefers it with lots of cinnamon and spices. A recent experimental addition in our house has been ginger, which really gives the applesauce some zing. Our Spicy Ginger Applesauce has gotten rave reviews from all who have received it so far.

The key to not needing very much sugar is to cook the apples in apple cider (or apple juice, but cider gives a richer flavor) instead of water, and to add a bit of salt to the sauce while cooking it down. The salt really potentiates the natural sweetness so you don't need as much sugar. In addition, a touch of vanilla enhances the flavors and makes the sauce seem sweeter than it is.

Some people prefer their applesauce with no added sugar. I like the flavor better with at least a little bit of sugar, but you need less than you might think, especially if you add it at the end of the process instead of early on. Personally, I think white sugar gives the best results without distracting from the apple flavor, but many people make it with brown sugar, agave syrup, or honey instead. Whatever floats your boat.


Mixing several different apple varieties together in the sauce is another key to improving the flavor and sweetness. I like a mix of Braeburns, Galas, Fujis, Gravensteins, or Winesaps, but I usually limit myself to 2-3 apple varieties per batch. That way they enhance each other without the flavors fighting each other for dominance.

Different people have different techniques for prepping their apples. Some just cut them up, boil 'em down, then use a strainer to mash them and take out the cores and peels. Others cut out the cores etc. ahead of time so they don't have that extra step of straining later on. Some bake them in the oven for even less prep, and then sauce them.

Lots of people use an apple peeler, like the one on the left, especially for homegrown organic apples with imperfect skin. The bonus of the apple peeler and slicer is that you can prepare extra apples for the dehydrator at the same time you are getting ready to make sauce. Using a slicer/peeler is a little messy but if you have fairly uniform-sized apples it works pretty well.

If I'm going for a really pretty sauce for gifts or special baking projects, I take off the skins and am very thorough about coring them so we don't find bits in the finished product. But in most of my sauces, I leave the skins on for extra nutrition (they disintegrate with the stick blender) and I don't care if I find an occasional bit of apple core or skin in the sauce.

Here's how I make my Spicy Ginger Applesauce. Feel free to alter it as you'd like when you make yours. I don't give any amounts; this is truly a recipe you adapt as needed for your own preferences. Just wing it; you'll be fine as long as you don't let anything scorch. And in time, you'll find your own preferred way to make the sauce.

  1. Prepare your apples - Wash them well and cut out any bad spots. Peel them if you prefer. Cut up the apples and put them in a little bit of salt water or lemon water to keep them from browning before the cooking begins. Drain them before starting to cook them.
  2. Cook your apples - Cover the bottom of a large pan with apple cider or apple juice. Add some lemon juice for acidity if you are going to be canning the applesauce. Add the apples. Cook the apples on medium heat (with the lid on to capture the steam) until the apples start to fall apart, about 30-45 minutes or so. If you like a very "appley" taste, start saucing here. Otherwise, it's spicing time!
  3. Cook the apples down - To intensify the flavor and get a richer, thicker applesauce, add a little salt, then reduce the heat to low and keep cooking the apples down till the liquid has reduced considerably. I let my apples cook down for at least an hour on the stovetop, or for several hours in a crockpot. This is the key for a really flavorful applesauce.
  4. Sauce the apples - Use a potato masher to smush the apples if you like a chunky applesauce; use an immersion stick blender if you prefer a very smooth, creamy applesauce. Watch out; the apples will be hot! Wear long sleeves and an apron to protect yourself from any splatter.
  5. Add the spices - Add a bit more salt and some vanilla extract (the good stuff), and stir it all in. Then add cinnamon, cloves, nutmeg and allspice to taste. If you like ginger, add either finely grated fresh ginger or a small amount of powdered ginger. (Ginger and cloves get more powerful with time, so go easy ─ a little goes a looooong way!) Stir the spices into the sauce and let it cook down even more. Keep a lid on to minimize any splatter.
  6. Sweeten the sauce - Add sugar or sweetener only at the very end of the process, and taste the sauce before adding to estimate how much you will need. Some recipes call for several cups of sugar, but I only add about 1/2 c. or so of white sugar to a pretty big pot of sauce. Some people add just a touch of honey, but I find the honey can overwhelm the apple taste. Brown sugar adds a bit of caramel taste, which can be tasty. Cook the sauce a bit longer, then taste and adjust as needed.
  7. Pour the sauce into heated jars - Using a measuring cup, ladle or funnel, pour the hot sauce into pre-heated, sterilized jars, leaving a bit of extra room on top. If canning, follow standard canning directions and immediately do a waterbath can for about 20 minutes (adjusting for altitude and jar size as needed). Let sit in the hot water for 5-10 minutes more to minimize air pockets and oxidation, then remove and cool on a towel. If freezing the sauce, let the jars cool on a towel for a few hours, then refrigerate overnight. Put into your freezer the next day. Label your jars with the date the applesauce was made.
image from oldworldfarms.com 
Our Spicy Applesauce is the best I've ever had, bar none, and I really do love the ginger version too. It's so wonderful to have on hand all through the year. It makes my mouth water just thinking about it!

This is definitely a very rich, flavorful applesauce, so if you like your sauce watery and appley like store apple sauces, you might not care for it. But if you are open to an applesauce that it has a little deeper, smokier, and spicier flavor, this is your baby.

And the nice thing is, it doesn't use much sugar. That's not for dieting considerations, but just to minimize sugar intake to stay healthy. To get such a rich flavor experience with so little added sugar is definitely a win-win situation!

The key is using several different apple varieties, cooking the apples in cider, adding salt and vanilla, and cooking the apples down thoroughly. This potentiates the natural sweetness of the apples and brings out their richer, deeper flavors.

Enjoy! 

Monday, October 12, 2009

Oven-Roasted Tomatoes: Food of the Gods

I posted earlier about the over-abundance of produce my garden was making, and how puzzled I was at how some people turned their noses up at getting free fresh organic produce.

(Interestingly, that post got the most comments of anything I've ever written about on this blog. Fat people actually like vegetables....who knew, eh?)

Now, here we are at the end of tomato season, and I'm drowning in tomatoes. I'm giving them away right and left to those who are open to receiving, and I still have more. The weather is about to go bad so I know I'm on the last gasp of sun-ripened loveliness, so I hate to give them all away--yet I have more than I'll ever eat fresh.

Ah, but now I know what to do with them! I found the greatest recipe over the weekend, and OMG, is it good! It's so easy that I decided I have to share it here.

Oven-Roasted Tomatoes

Food of the Gods indeed. You have to try this.

As I posted about previously, I've been wanting to make my own spaghetti sauce with these tomatoes all summer, but I'm not an enthusiastic cook and I can think of a lot of other things I'd rather do with my time than stand around in a hot kitchen, tending 'maters.

My mother-in-law, bless her, tried to help out by stewing a bunch of my extra tomatoes (without asking me! Augh!) but that's not good spaghetti sauce in my book. Too watery, not enough flavor. We'll freeze it and add it to chili later in the winter but meh. I'm just not a cooked-tomato kind of gal.

A friend mentioned oven-roasting the tomatoes and then turning it into spaghetti sauce. The oven dries up a lot of the juices so it's not so watery for the sauce, she says. And it concentrates the flavors, apparently. So I thought I'd try that, once I found a little time.

Well, I'm still looking for that extra time, but the end of the tomato season is upon us so my hand was forced. It's cook 'em or throw 'em onto the compost pile, so I made some time for it over the weekend. And am I glad I did.

Oh. My. God. This was almost a religious experience, it was so good. And really, it was very easy, which is always a key recipe ingredient in my book. And it actually made cooked tomatoes taste good! Amazing. Never thought I'd see the day when I enjoyed cooked tomatoes.

How To Roast Tomatoes

You wash your tomatoes. It doesn't matter what kind you use. I used big red 'maters, golden, orange, Romas, heirlooms, cherry 'maters, you name it. They all work.

Cut 'em up. I quarter the big ones, and halve the small ones. They cook faster that way. Toss 'em with a little olive oil, then place them on an oiled cookie sheet.

Slice up some onions and toss them in with the tomatoes. Put in some unpeeled garlic cloves too (not peeling them lets them steam instead of dry out, and tends to make them more flavorful and less bitter). Sprinkle it all with a little sea salt, a little oregano and thyme, and whatever other spices float your boat. There's no exact science to it, just throw in whatever sounds good to you, in whatever proportions you like.

Then roast 'em in an oven on 400 degrees for about an hour or so, till they are semi-dried up but still all bubbly. (You choose how dry you want them to get; still a little bubbly is how I like mine.) If you arrange your oven racks properly, you can roast two pans at once.....and trust me, you're going to want to! I did four pans over the weekend and could've done more if I'd had the time.

When they are done, let 'em cool a tad, then use a spatula and scoop them off into a bowl. Taste, and know you've gone to heaven....even if you're not much for cooked tomatoes. Rinse and repeat till you are out of tomatoes or out of storage space.

You can roast 'em slow or you can roast 'em fast. Some recipes online recommend 150-200 degrees for nine hours. Others recommend 400-450 degrees for an hour or two. Or this recipe recommended 325 degrees for 2.5-3 hours.

Sorry, I have other things to do than stand around for hours watching tomatoes roast, so I went with the fast-roast method and it was GREAT. However, if you really want truly dried tomatoes, the slow-roast option may be better. Or try a solar oven for a really long-roasted option that doesn't use up a ton of electricity. I hear that works pretty well.

There's no real big science to all this; experiment to see which way you like it the best. It's okay if you make your oven hotter or cooler than mine, or if you cook it longer or slower or add other ingredients or whatever. That's what I like about this recipe...it's so adaptable. And it's really easy, which is good for lazy people like me.

Did I mention yet it is easy?

What Then?

Now, once you have the oven-roasted tomato/onion/garlic mix, you have many options. You can eat them as is.....and OH, they are great that way! Or you can freeze them in a Ziplock bag for later use in chili or stirred into pasta or whatever. Or you can chop them up fine with some olives and things for a savory topping for fresh bread. All that's quite tasty too.

Or you can make spaghetti sauce from it like I did.

Hunt down all the unpeeled garlic cloves in the roasted mixture and then squeeeeeze them from one end. The roasted garlic will ooze out the other side, into your roasted tomatoes. Whir your onion, garlic, and tomato mixture in the Cuisinart or blender and voila, spaghetti sauce to die for. Easy peasy.

Add your choice of meat if you'd like, or eat it vegetarian...whatever floats your boat. Add some red wine if you like a little "bite" in your spaghetti sauce. Or sneak a few extra veggies into your Cuisinart if you want to up the vegetable count in the sauce without any ankle-biters knowing it. There are sooo many different ways to enjoy this; have fun experimenting with it. Freeze any extra and enjoy it in the middle of winter. YUMMMMM.

My fresh-made spaghetti sauce turned out lighter in color than bottled spaghetti sauce (probably from all the yellow and orange tomatoes I used) so it doesn't look quite the same, but it tastes amazing. Even my tomato-hating kids liked it and ate it enthusiastically. I'm making more this week with the last-gasp remnants of tomato season.

I'll still buy bottled spaghetti sauce and enjoy it too, but this stuff.....now that's the really good stuff. It's like comparing wine in a box to a really good fine wine--they're both pretty good, and they both do the job, but ooooooh, only one is truly a tastebud extravaganza of delight.

Now I actually have a reason to hope for an abundance of tomatoes next year. I have a hunch there will be a lot less tomatoes being given away from my household next year!

Comments section is now open for other end-of-season tomato ideas.........